Make photo files smaller while keeping the detail you need
Written · Updated · Operator (individual)
Your email has a handful of photos attached and the total is too large. Before dragging quality all the way down, check the size your recipient needs. Leave photos that already fit alone and make smaller copies of the large ones from the originals.
Should I compress a small JPG again?
If the allowance is 1MB and your JPG is 106.9KB, use it as it is when no edits are needed. Processing only the files that exceed the limit saves time and an unnecessary encoding step.
We checked this in MiruKit: a test JPG placed under a 1MB target had identical input and output contents, both 109,423 bytes. The table displays that as 106.9KB. Comparing the file contents confirmed that this result passed through without recompression.
What order should I work in?
- Find the maximum file size and required dimensions. Use an unedited file that already fits as it is.
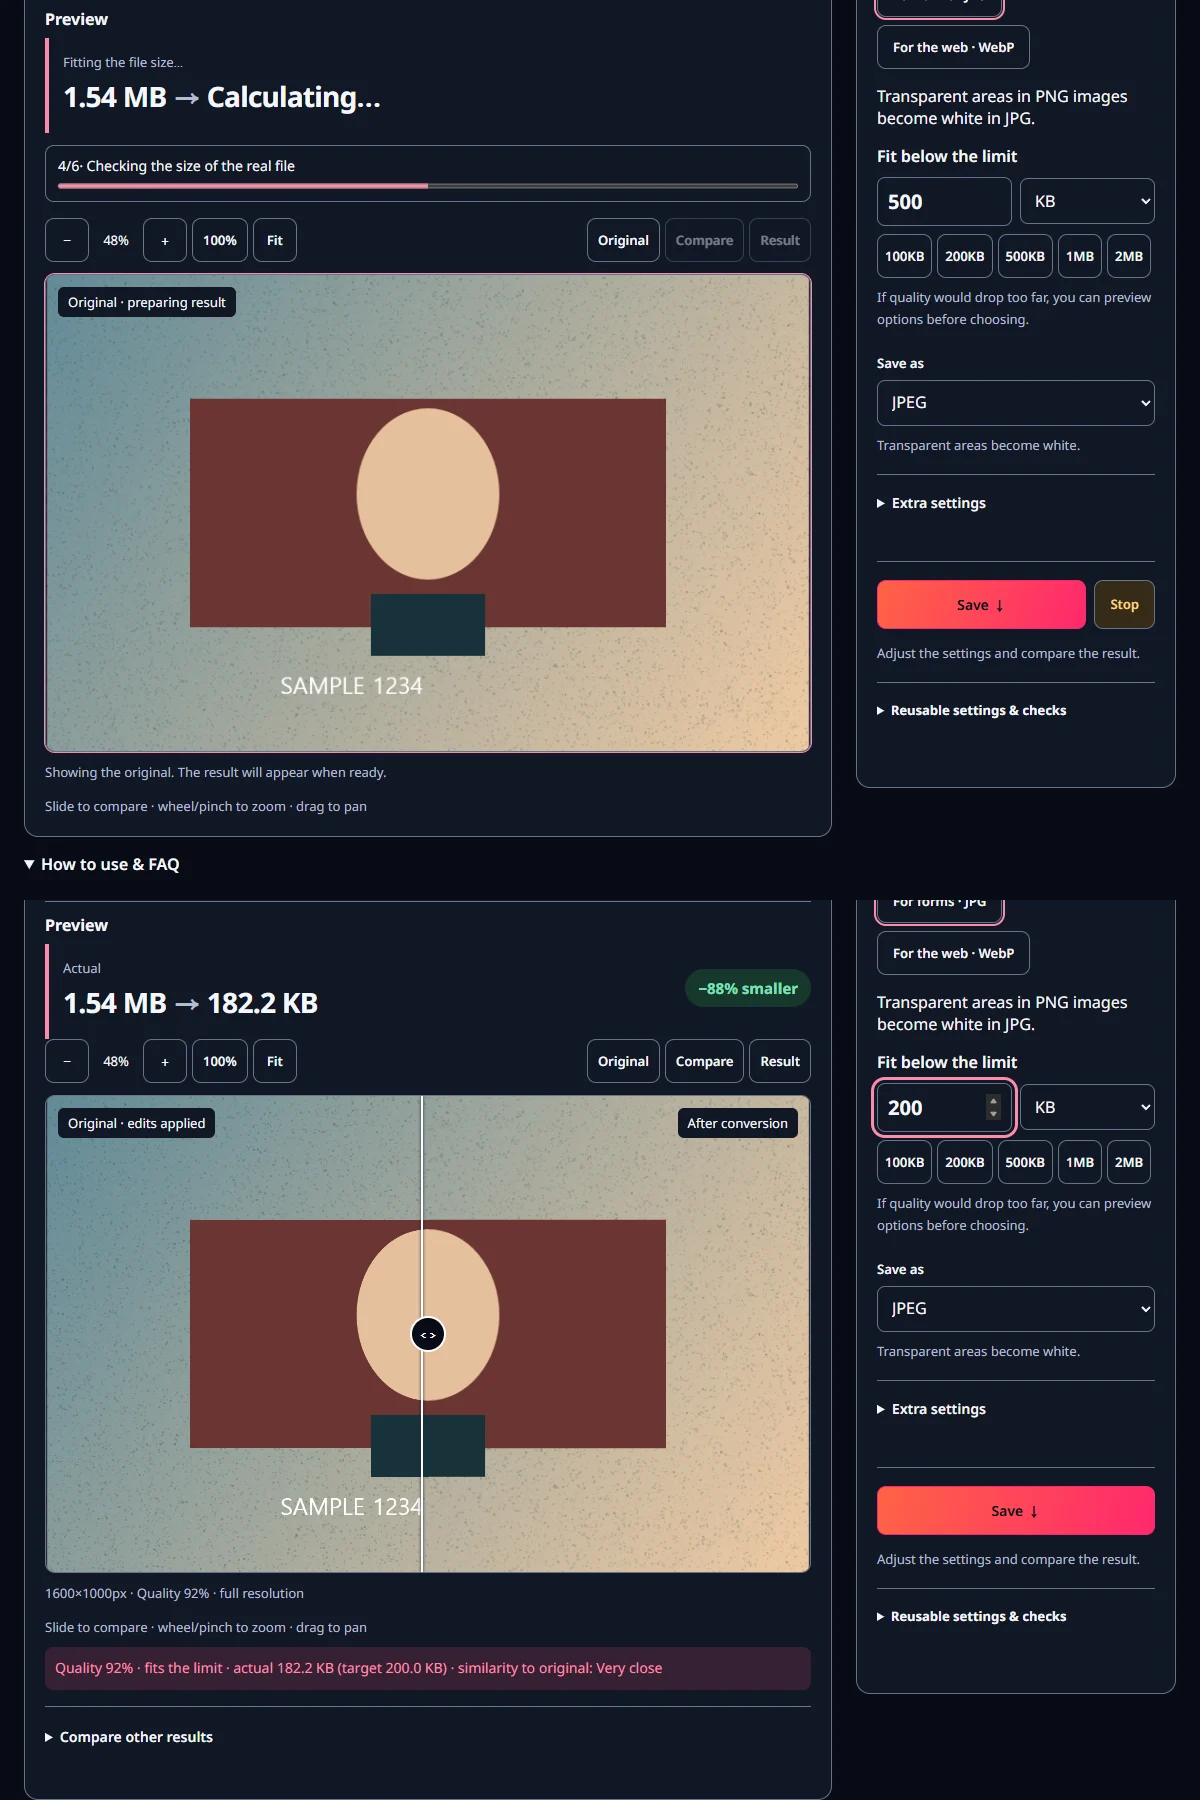
- Reduce unnecessary dimensions, then enter a target in Compress. The tool first checks whether it can retain the original or preserve the pixels.
- Inspect the important detail before saving. If the target is difficult, compare a smaller image with a version at the current dimensions.
Choose submission JPG when the receiving service requires it. For web publishing with a choice of formats, compare a WebP copy too. A transparent logo calls for PNG or a transparency-capable WebP. Settling the purpose first makes the remaining choices easier.
Dimensions or quality: which should I change?
Reducing width and height reduces the number of pixels. Lowering quality keeps the grid but stores less detail. For viewing on a phone, a moderately smaller image at higher quality can look cleaner than a huge one compressed heavily.
Large prints and zoomable product photos may need the extra detail, so compare a full-size version too. A small website thumbnail may need far fewer pixels. Keep the original and create copies for each use so you can choose again later.
MiruKit's alternatives include dimensions and previews. Compare an option that preserves color at a smaller size with one that keeps the dimensions. For an application, respect minimum pixel requirements first, then choose the clearer face or lettering.
What can we see in the measured results?
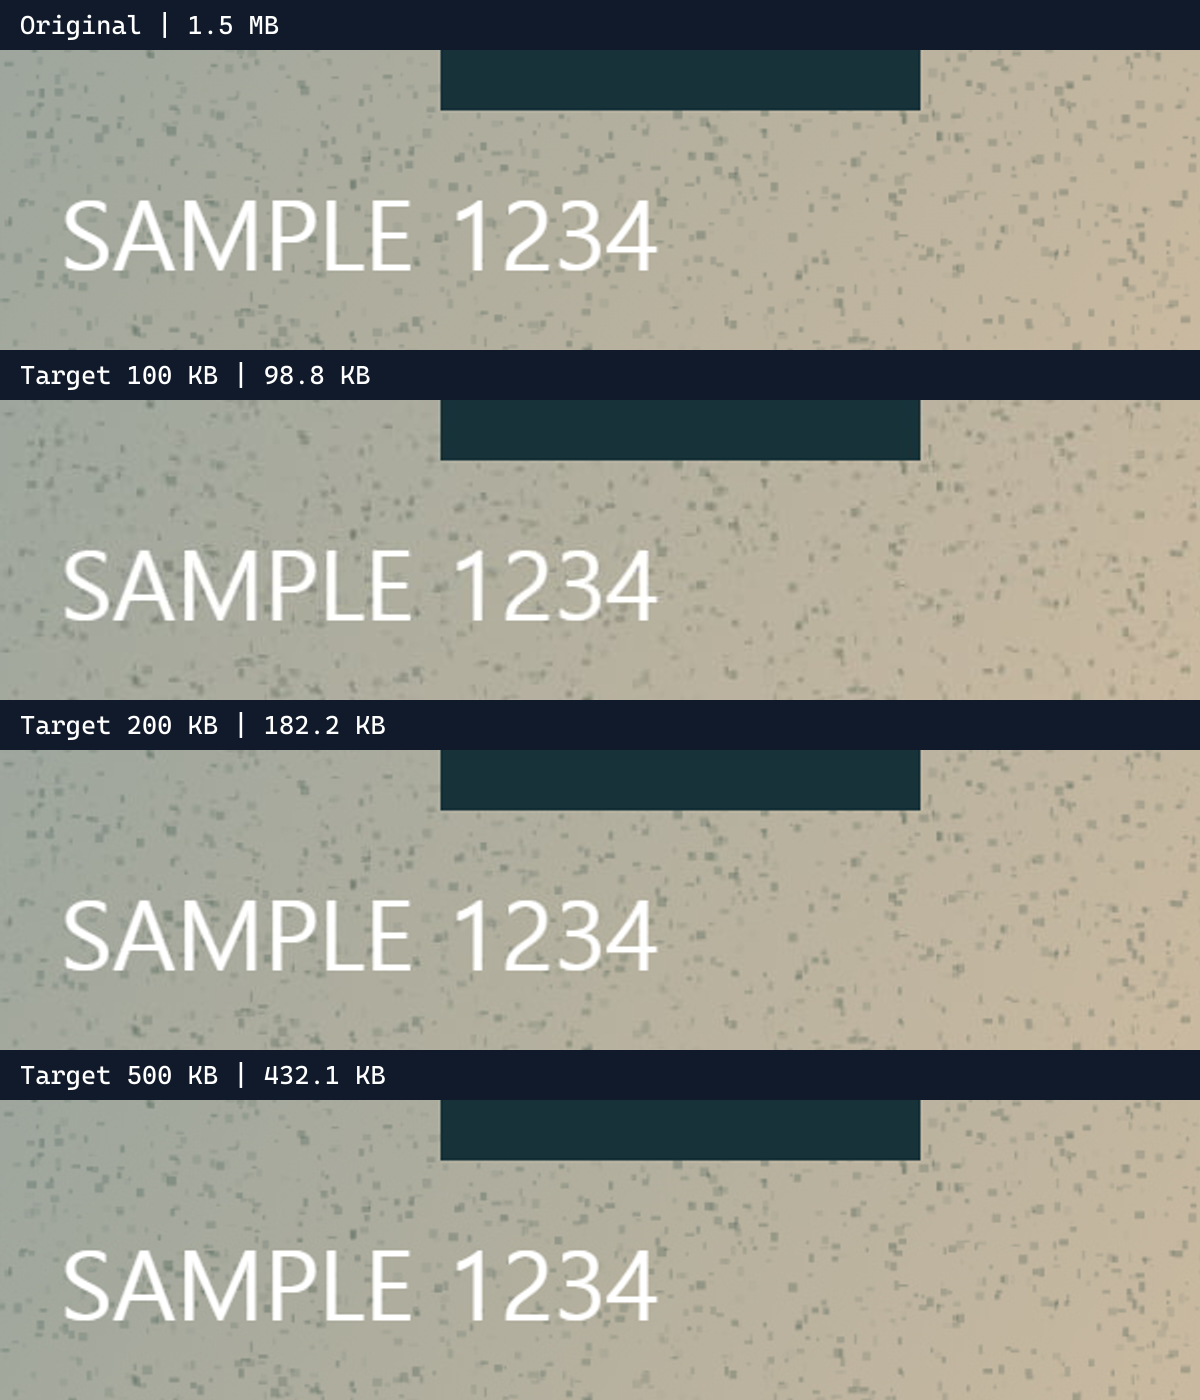
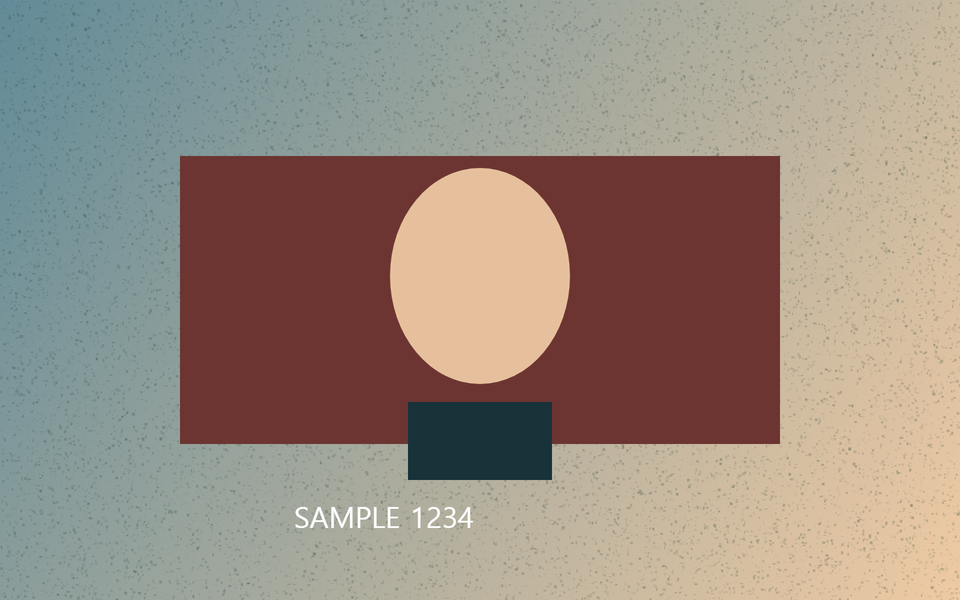
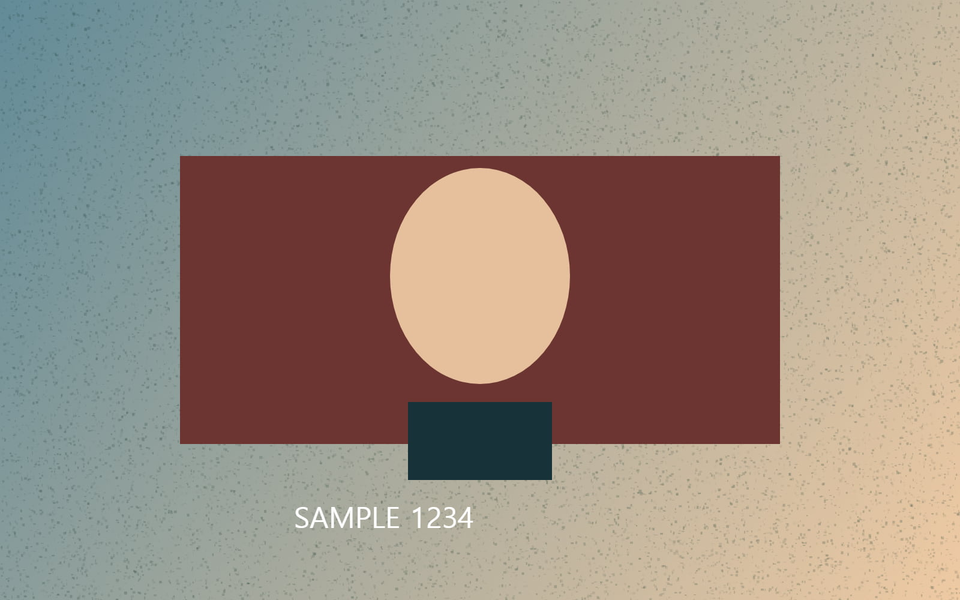
Our illustration saved at 98.8KB, 182.2KB, and 432.1KB for targets of 100, 200, and 500KB. Selected quality rose from 83% to 92% and 98%. The comparison below shows the same text and lines at the same scale.
Look first at letter edges, fine lines, and bands in gradients. The table's PSNR is higher when the RGB values are closer to the original. These measurements describe one test illustration; use the enlarged examples to see where its differences appear.
For your own image, pick meaningful details: leaves and skies, eyes and hair, or small screen text. Alternate between actual-size detail and the intended display size. The version you use should work at the size people will see.
How do I avoid repeated saves?
Open the original, carry out rotation, resizing, or cropping, and make the final copy. MiruKit carries the original with applied edit settings between tools. That reduces the need to export each stage as a JPG and reopen it as the next source.
Use Undo if a setting goes wrong, then make the corrected copy from the source. Save named settings if you repeat the same task often. Distinct filenames help keep a small attachment separate from the source for a future print.
What should I check after saving?
Check dimensions, orientation, and final size, then reopen the important detail. Try an attachment in the actual form or one image in your publishing workflow. For a batch, inspect the other results too: detailed pictures can need more data than simple ones.
Keep the originals and final files in a folder you control. The temporary browser library is handy for editing, while your own saved copies remain easy to find after the task is finished.
Open the related toolMeasured with MiruKit
| Setting | Actual size | Similarity to original |
|---|---|---|
| Target 100 KB · Quality 83% | 98.8 KB | 42.4 dB |
| Target 200 KB · Quality 92% | 182.2 KB | 45.4 dB |
| Target 500 KB · Quality 98% | 432.1 KB | 49.8 dB |
| Original unchanged | 106.9 KB | File contents unchanged |
PSNR compares the original color values; higher means more similar. Check important details in the enlarged images too. Sizes use 1,024 bytes per KB.
Good to know
Raising a quality setting cannot restore detail lost in earlier compression. Start with the earliest suitable original.
Quality scales differ by format, so compare actual file sizes and enlarged results together.
Pixel-preserving compression may have little room to save space. An already small file can simply stay as it is.