Get an application photo under 200KB, step by step
Written · Updated · Operator (individual)
You've finished an application and the last photo attachment hits a 200KB limit. Match any required dimensions first, then choose submission JPG and 200KB in Compress. That gives you a clear sequence instead of repeatedly saving and guessing.
Which requirements should I write down?
Separate the format, width and height, and maximum file size. For example, JPG, 300×400px, and under 200KB means fixing the shape and dimensions before compressing. Record any minimum dimensions or minimum file size as well.
Use the instructions on the form you are filling out. A school, employer, or government service can have different requirements for portraits, signatures, and scanned documents. Keeping a one-line note beside the photo makes it easier to apply the right settings.
What should I do in MiruKit?
- Open the original and check orientation. Crop to the required shape and use Resize for any specified pixel dimensions.
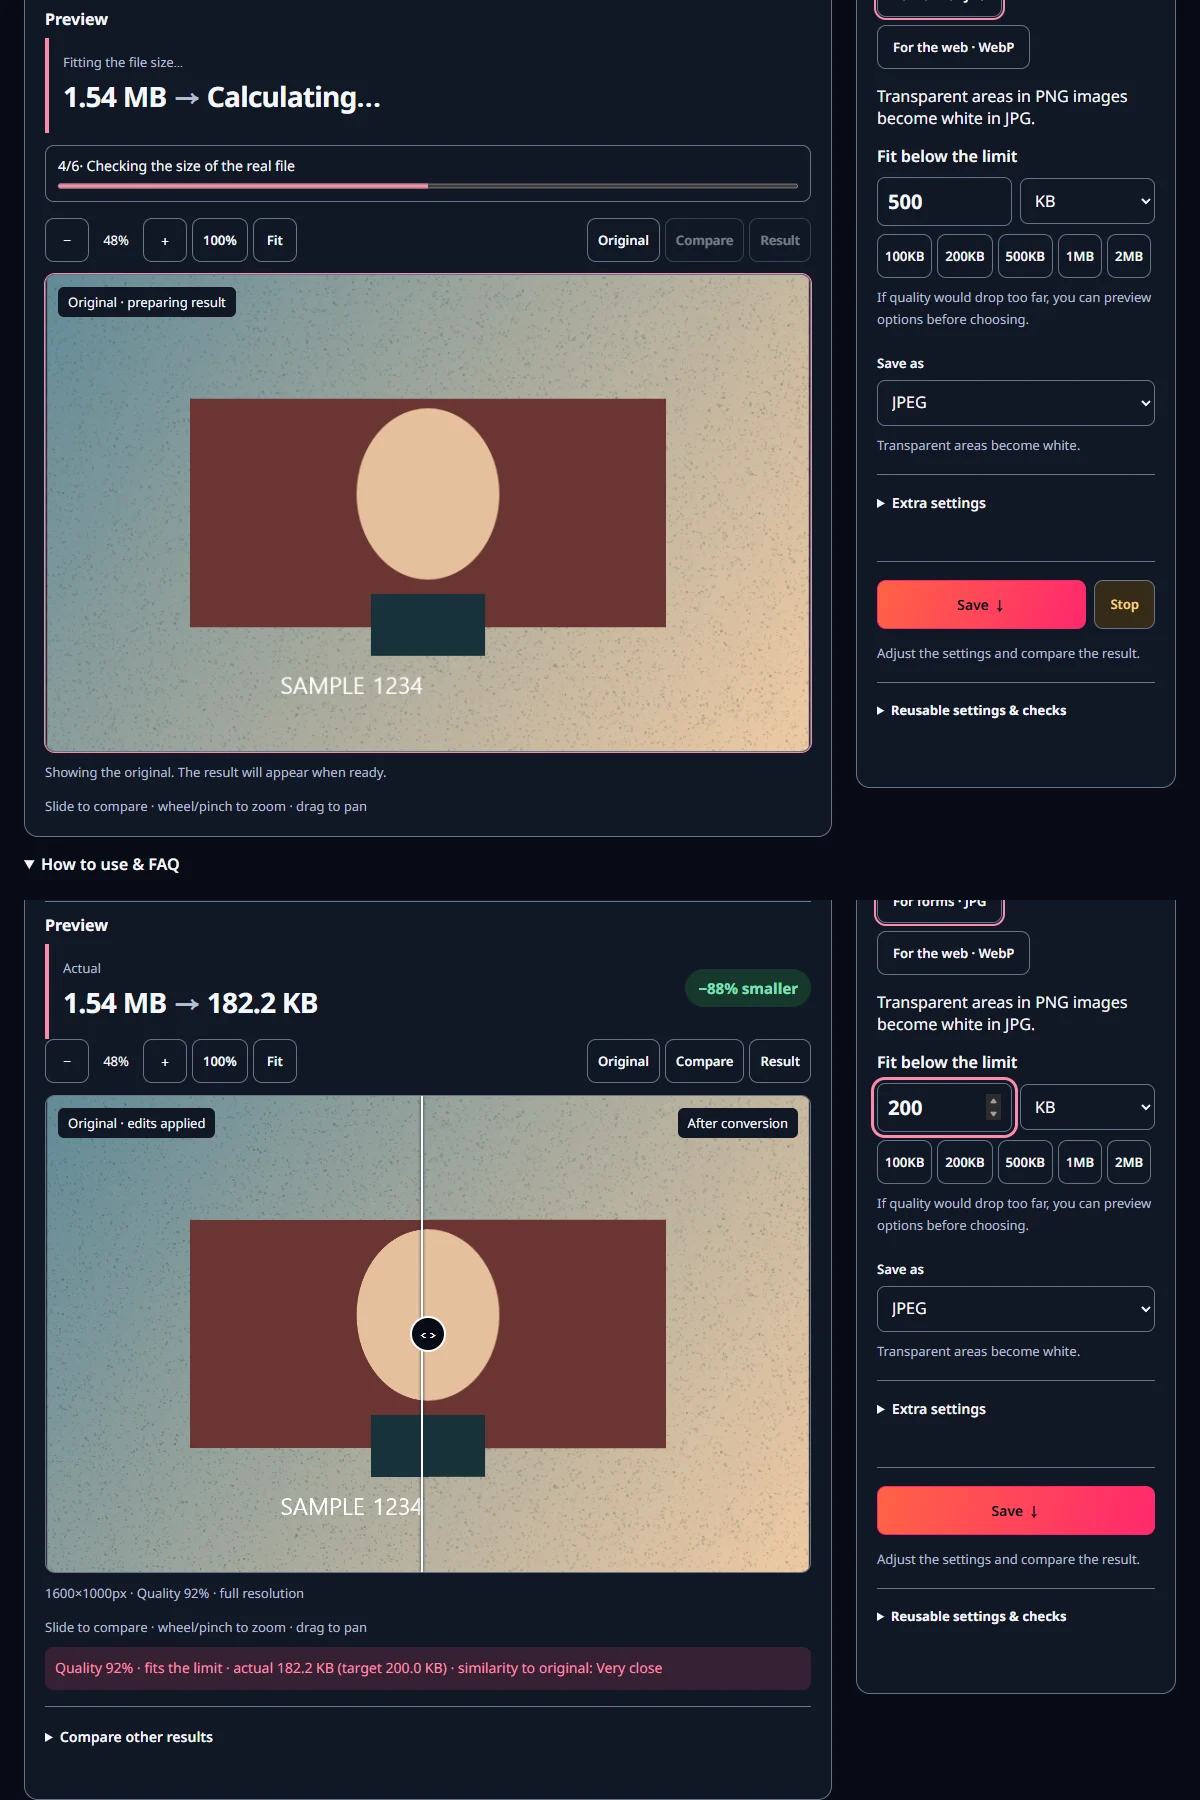
- In Compress, choose submission JPG and enter 200KB. Watch the progress indicator until the actual result size appears.
- Inspect a face or small lettering, then save. Select that new copy in the attachment form and check its preview.
Keep the aspect ratio locked while resizing to avoid stretching a face. If the required shape differs from your original, choose what to crop rather than squeezing the image. Check that the frame includes the head and any important text.
What did the 100, 200, and 500KB tests produce?
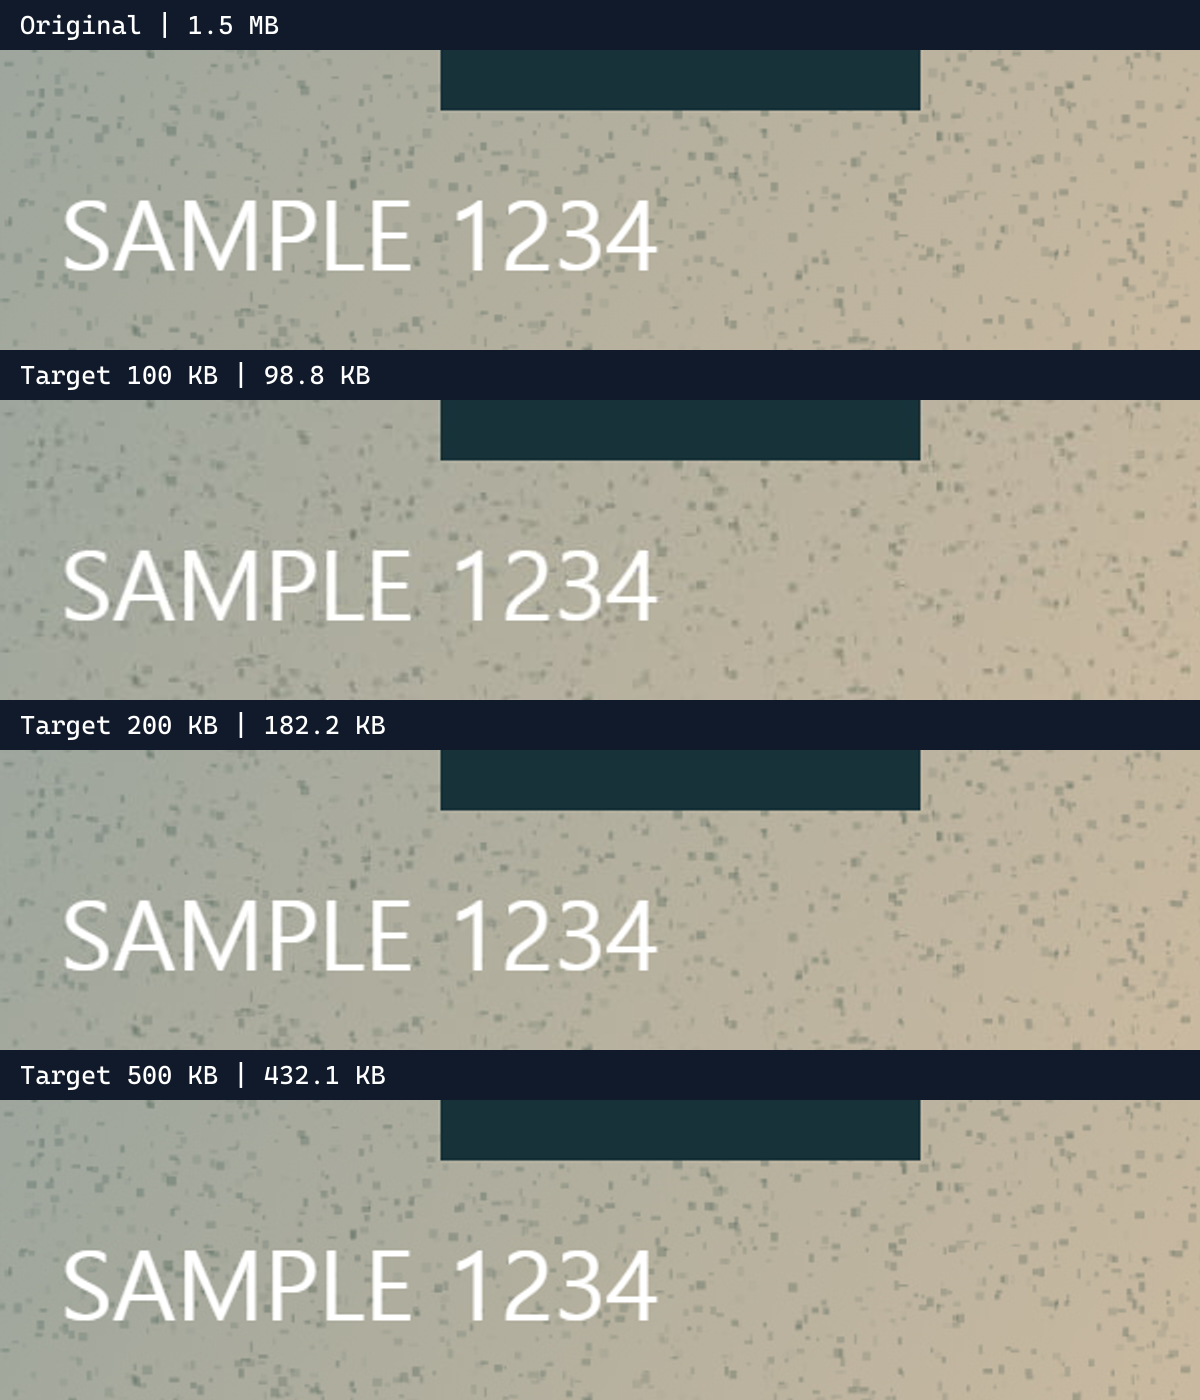
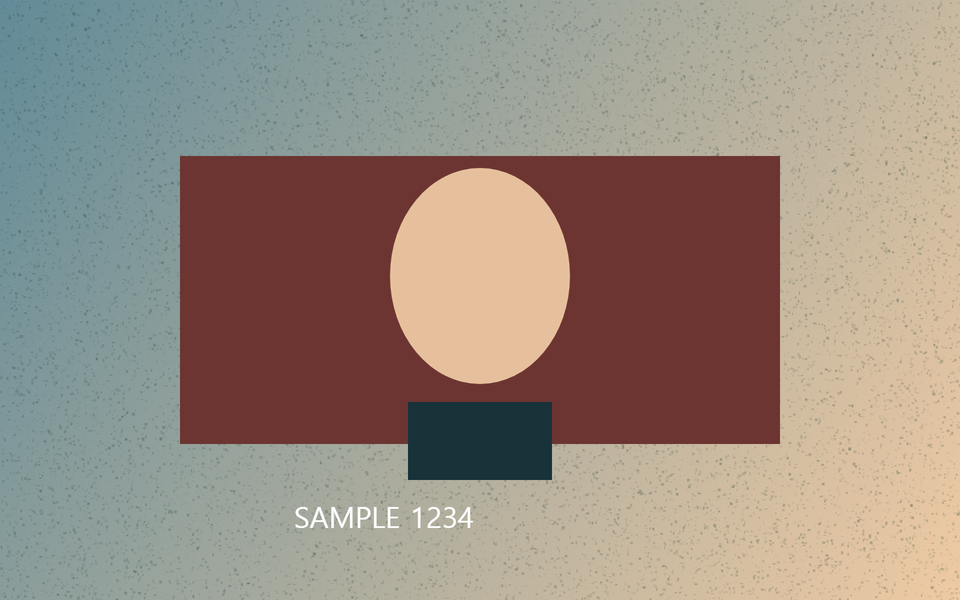
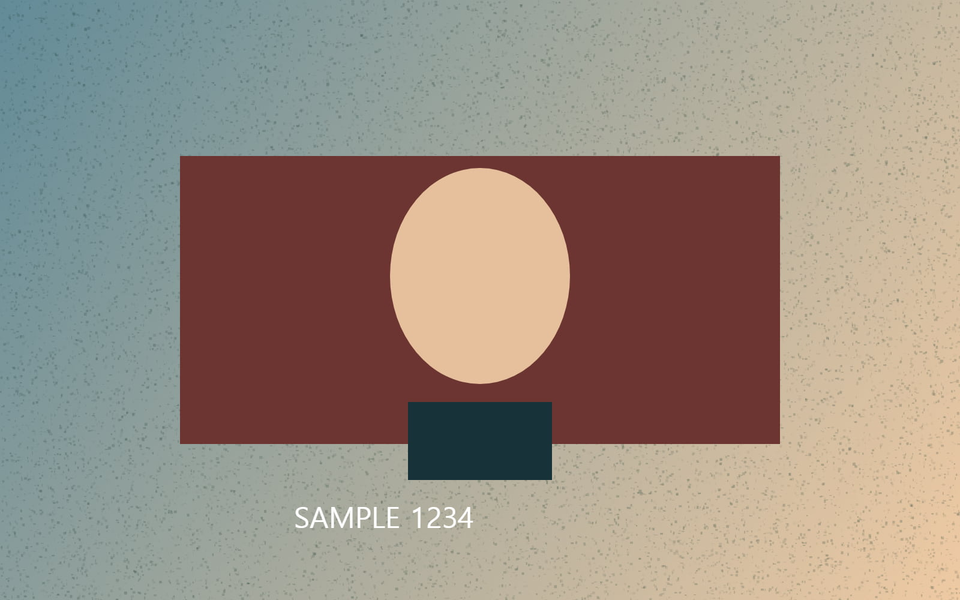
Our 1600×1000 illustration saved as 98.8KB at a 100KB target, 182.2KB at 200KB, and 432.1KB at 500KB. The selected quality settings were 83%, 92%, and 98%. You can compare the same lettering and lines in the enlarged images below.
A larger allowance let this image use a higher quality setting. If your limit is 200KB, the 182.2KB result already fits. Leave it at that size instead of trying to inflate it to the limit. A simple image can finish well below a target even at high quality.
What if the face looks soft?
If the original has thousands of pixels but the attachment is small, reduce unnecessary dimensions first. A moderate size at higher quality can look better than a huge image compressed very hard. When MiruKit offers alternatives, compare both their dimensions and the important detail.
For a batch mixing portrait and landscape images, Maximum size sets the larger dimension of each photo. Check the input value so small originals are not enlarged unintentionally. Keep the form's minimum dimensions in view when choosing a smaller result.
Why does the form still reject it?
First check that you selected the result instead of the similarly named original. Add application or the target size to the new filename to make this easier. Open the file to check its format, then read any filename or attachment-count rules.
If it is extremely close to the stated limit, a slightly smaller target can help with rounding or different size units. Read the error and change the named requirement first. Make the new copy from the original, rather than recompressing each failed JPG.
What should I keep afterward?
Save the original and the submitted copy with distinct names. Another application may need a different ratio or larger image. In a batch, check that filenames and order still match the intended photos.
Open the final download once more before sending it. The browser work library helps you resume a task; keep long-term files in a folder you control. A short note of the settings that worked can make the next application much quicker.
Open the related toolMeasured with MiruKit
| Setting | Actual size | Similarity to original |
|---|---|---|
| Target 100 KB · Quality 83% | 98.8 KB | 42.4 dB |
| Target 200 KB · Quality 92% | 182.2 KB | 45.4 dB |
| Target 500 KB · Quality 98% | 432.1 KB | 49.8 dB |
PSNR compares the original color values; higher means more similar. Check important details in the enlarged images too. Sizes use 1,024 bytes per KB.
Good to know
The measured sizes above come from one test illustration. Use your current application's own requirements.
Renaming a HEIC or PNG file to .jpg leaves its contents unchanged. Export a JPG copy through Convert.
For passport photos, also follow the official capture and editing rules.