Fix a cutout with missing pieces, then save the transparent copy
Written · Updated · Operator (individual)
A product handle has disappeared, or a character's shirt has a hole after background removal. Try the brush in Add mode on the missing part first. Use Subtract on leftover background, then apply transparency to check the result.
What should I select first?
Enclose the subject you want to place on another background. Lasso works immediately without an AI download. Try its magnet option on a clear edge. If you want AI selection, review the required file download and start from there.
Decide whether to keep a shadow, a fine strap, or a small object in someone's hand. Make a broad initial selection, then zoom into those details. This is often easier than trying to trace every tiny edge in one movement.
How do I fix missing and unwanted areas?
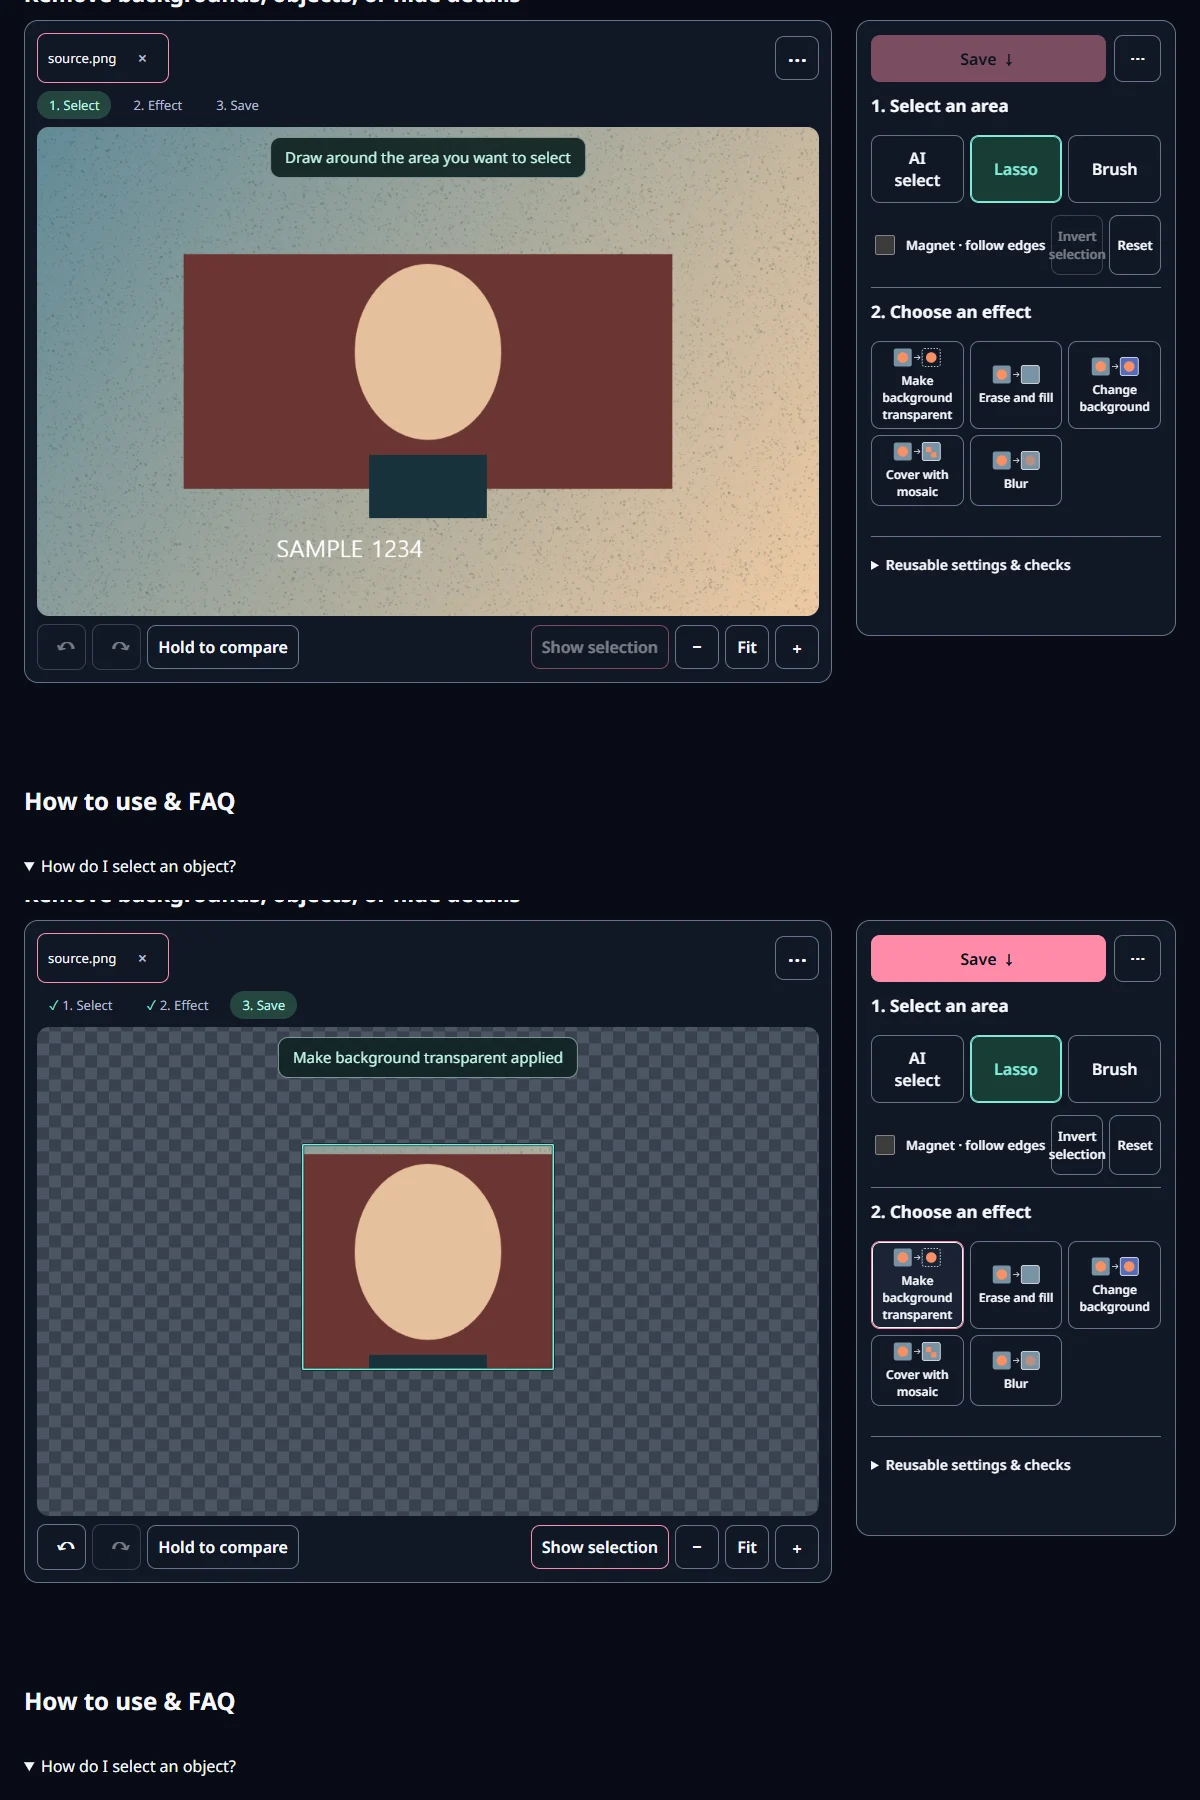
- Select with Lasso or AI, then check that the mint outline includes everything you want to keep.
- Brush in Add mode over missing areas and use Subtract for unwanted background. Make the brush smaller for narrow details.
- Apply transparency. Check the checkerboard result against light and dark backgrounds, then save as PNG or transparent WebP.
The selection updates as you paint. Zoom into a handle or a gap between strands and correct it a little at a time. If you remove too much, undo the last stroke. The edit history also lets you return to an earlier selection.
Why did AI leave out part of the subject?
AI may focus on one object inside your boundary. If a person is selected but the object they hold is missing, try the other candidates first. Choose the closest result and add the remaining piece with the brush.
If similar objects are nearby, draw a tighter boundary around your target and try again. Thin illustration lines or clothing close to the background color may be quicker to correct manually. Check for small holes inside faces and clothing before applying the effect.
How do I tidy rough edges?
Use Expand or Contract to move the boundary slightly. Try small amounts of feathering and smoothing while watching the outline and result. Start gently on hair or a soft shadow so the whole edge stays clear.
If a strip of the old background remains, contract a little and compare. If the subject is clipped, expand slightly instead. Alternate between a close view and the final display size to judge how much correction you need.
How can I tell the background is transparent?
The checkerboard marks empty areas in the result. Saving retains transparency rather than painting that checkerboard into the file. Hold Compare for the original and release it for the result. Turn off the selection outline to inspect the edge more clearly.
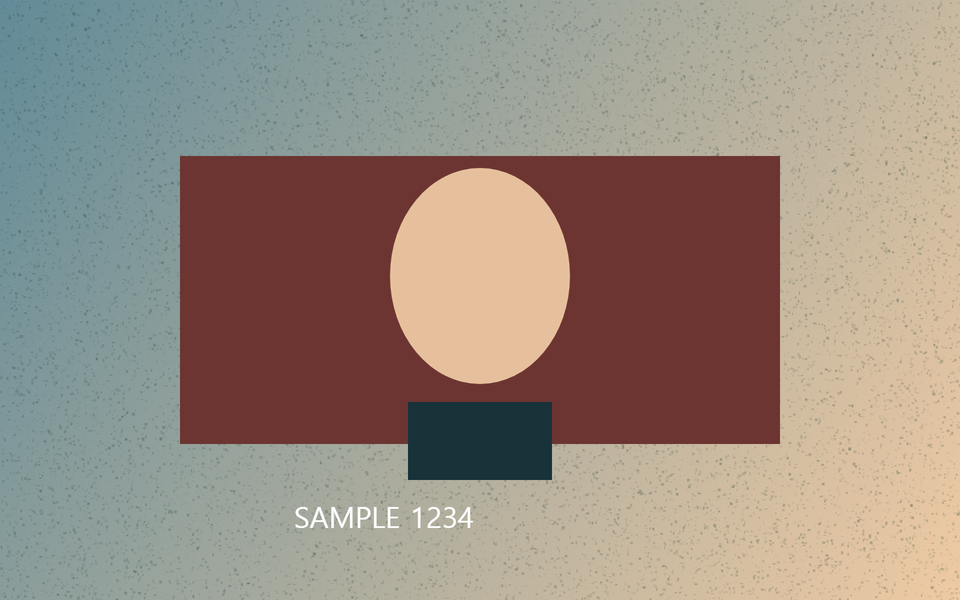
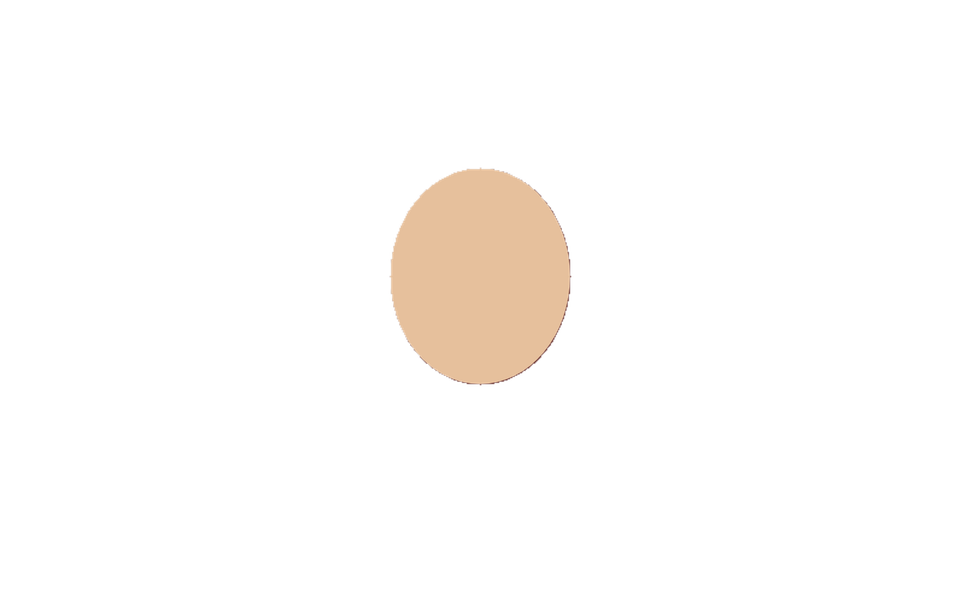
Our example keeps a known ellipse in a drawing. We checked that about 1.51 million pixels in the saved file were fully transparent. This tests the saved transparency as well as the preview; the screenshots show the selection and saving workflow.
What if I want a blurred or new background?
Select the subject, then invert the selection to work on the background. Choose Blur or background replacement for the result you want. If you plan to place the subject elsewhere, keeping a transparent copy is convenient. For a flat background, choose a color and inspect the result directly.
On a phone, a fragmented AI result can trigger a retry using another processing method. Watch the progress message; first use may also include model and runtime downloads. Once it finishes, the same brush can fix any areas that still need attention.
Open the related toolMeasured with MiruKit
| Setting | Actual size | Observed result |
|---|---|---|
| Transparent background | 45.7 KB | Fully transparent pixels: 1,513,936 |
Good to know
JPG cannot store transparency. Save a cutout as PNG or a transparency-capable WebP.
The ellipse test checks transparency export. Check hair and other fine selection detail on your own image.
For replacing an entire background, use transparency or background replacement. Filling a broad area can look awkward when little useful surrounding texture remains.