Does changing a photo to 300 DPI make it sharper?
Written · Updated · Operator (individual)
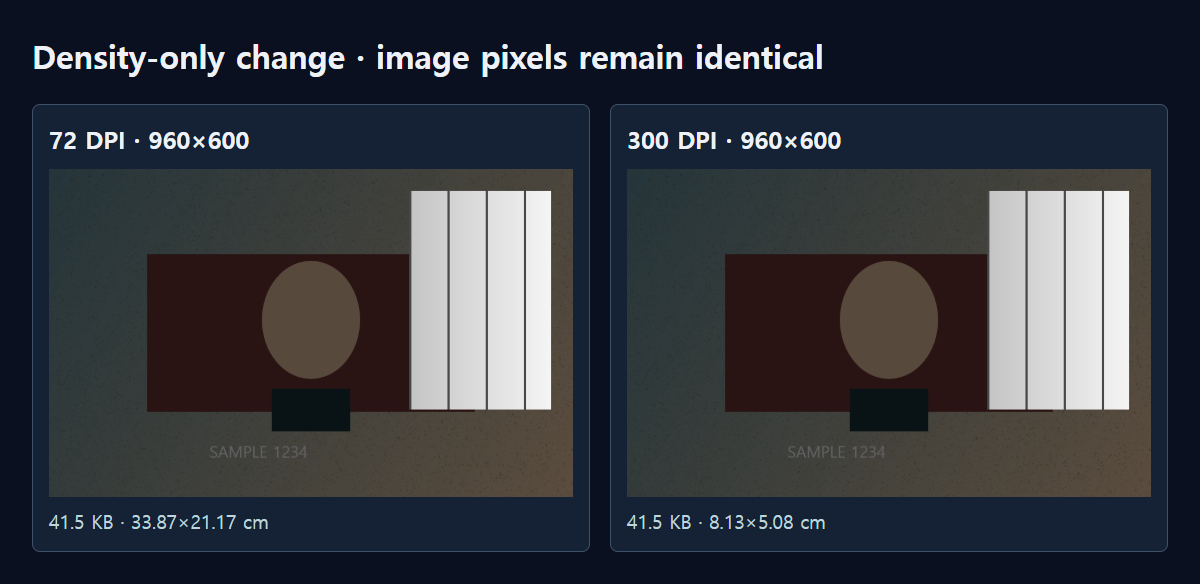
An upload form asks for “300 DPI,” but your photo says 72. Will changing that number make a small image clearer? Separate the pixel dimensions from the size on paper first. We changed only the density information in one 960×600 JPG and checked what actually happened.
What do pixels and print density describe?
A 960×600 image contains 960 pixels across and 600 down. Those are the samples available when you view the picture at actual size. Print density describes how tightly to place them on paper. Put more pixels in each inch and the print gets smaller; spread the same pixels over more inches and it gets larger.
PPI is the more precise term for image pixels per inch, while printers also use DPI for physical dots. Upload instructions and software often call the image setting DPI, so we use that familiar label here. File size in KB is a separate requirement from either pixel dimensions or print density.
What changed between our 72 and 300 versions?
We passed the same JPG through MiruKit’s export density helper with values of 72 and 300. Both files were 960×600 and 41.5KB. After decoding them, we compared every color and alpha value: zero values differed. The visible picture stayed the same while the recorded print density changed.
Following those density values, the image would occupy about 33.87×21.17cm at 72, or 8.13×5.08cm at 300. A print dialog can override this if you choose Fit to page. The dimensions in our table follow the file metadata; we did not print and scan physical copies.
The files’ bytes can differ because density is stored inside the file. That is why we checked decoded pixels rather than claiming the whole file was identical. You can inspect the measurement record below to see the distinction between the image contents and its metadata.
How many pixels do I need for a particular print?
Multiply inches by the requested density. A 4×6-inch print at 300 pixels per inch needs 1200×1800 pixels. In centimeters, use length ÷ 2.54 × density. For example, 10×15cm at 300 needs approximately 1181×1772 pixels. Use the receiving service’s rounding and size rules when it gives exact dimensions.
Changing a 960×600 file’s density does not turn it into 1200×1800. That would require a separate pixel-resizing step. The aspect ratios also differ: a wide 960×600 image does not fit a portrait print without cropping, rotation or margins. Decide the shape first, then the pixel dimensions.
Which settings should I use in MiruKit?
- Read the requirements for pixel width and height, physical print size, density, file format and maximum file size separately.
- Open Resize to check your original dimensions. For a web-only image, follow the required pixel dimensions.
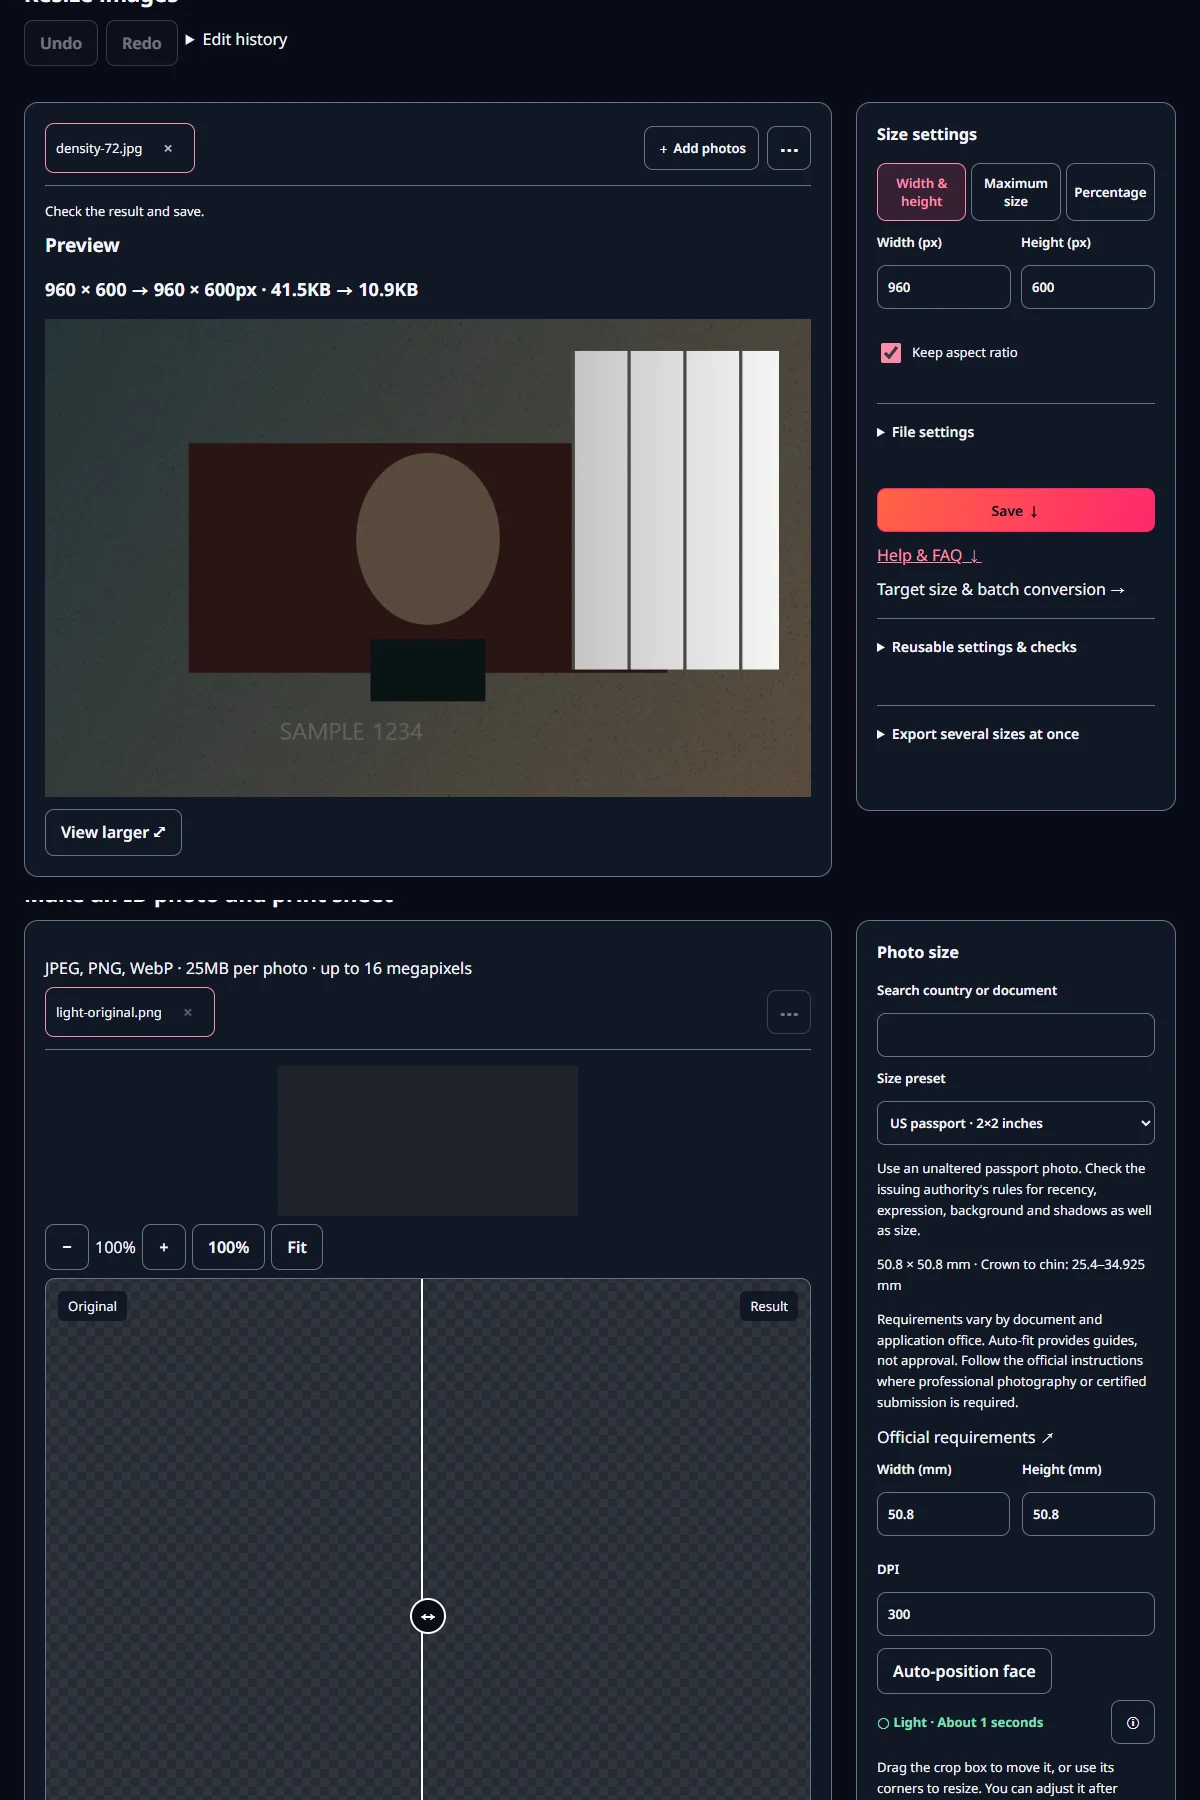
- For a fixed physical layout in the ID-photo tool, check both millimeters and DPI. That interface calculates the output pixel dimensions from both values.
- Open the saved file to verify its dimensions and size. In the print dialog, check the final size and whether Fit to page is enabled.
Our experiment changes only the density record during export. The ID-photo interface does something else when you hold millimeters fixed and raise DPI: it calculates a larger pixel grid. Keeping these two operations separate explains why one workflow leaves the pixels unchanged while another produces a larger image.
Is a number above 300 always better?
It can place the same pixels in a smaller physical space, but it cannot restore missing hair strands or letter strokes. If your original has too few pixels for the intended print, first look for a larger original. If you enlarge the pixels, inspect that output as a separate editing decision.
For a picture viewed on a phone or website, start with pixel dimensions, format and file size. For printing, use the printer’s or receiving organization’s instructions. Checking the final viewing size is more useful than choosing the biggest density number available.
Open the related toolMeasured with MiruKit
| Density | Pixels / size | Calculated print size |
|---|---|---|
| 72 DPI | 960×600 · 41.5 KB | 33.87×21.17 cm |
| 300 DPI | 960×600 · 41.5 KB | 8.13×5.08 cm |
The shipped printDensity helper changed only density metadata in the same JPG. Decoding both yielded zero differing RGBA values; JFIF density was verified as 72 and 300. This is a metadata/pixel comparison, not a physical print test.
Good to know
300 is not a universal submission rule. Read it alongside any physical-size and pixel-size requirements.
Our two JPGs differ only in recorded density. Resampling or changing compression quality can change the image itself and needs a separate comparison.
Official sources
Sources checked 2026-10-15